Solving the Rubik's Cube Middle layer: The Adjacents & Opposites
Introduction
After solving for the top, the next step is solving the middle layer so that it looks like this:
Starting Point
Finding the edge cube that you want to place.
Look at your bottom layer. Turn your cube or the bottom layer until you find an edge square that matches the colour of a middle square.
Then have a look underneath your cube. Does the colour of your 'chosen' edge square match either the left or right face? If it doesn't, just look for another matching edge and middle. If there aren't any that match (it happens occasionally), don't worry, just do one of the moves below anyway and look again, you'll probably find one that matches.
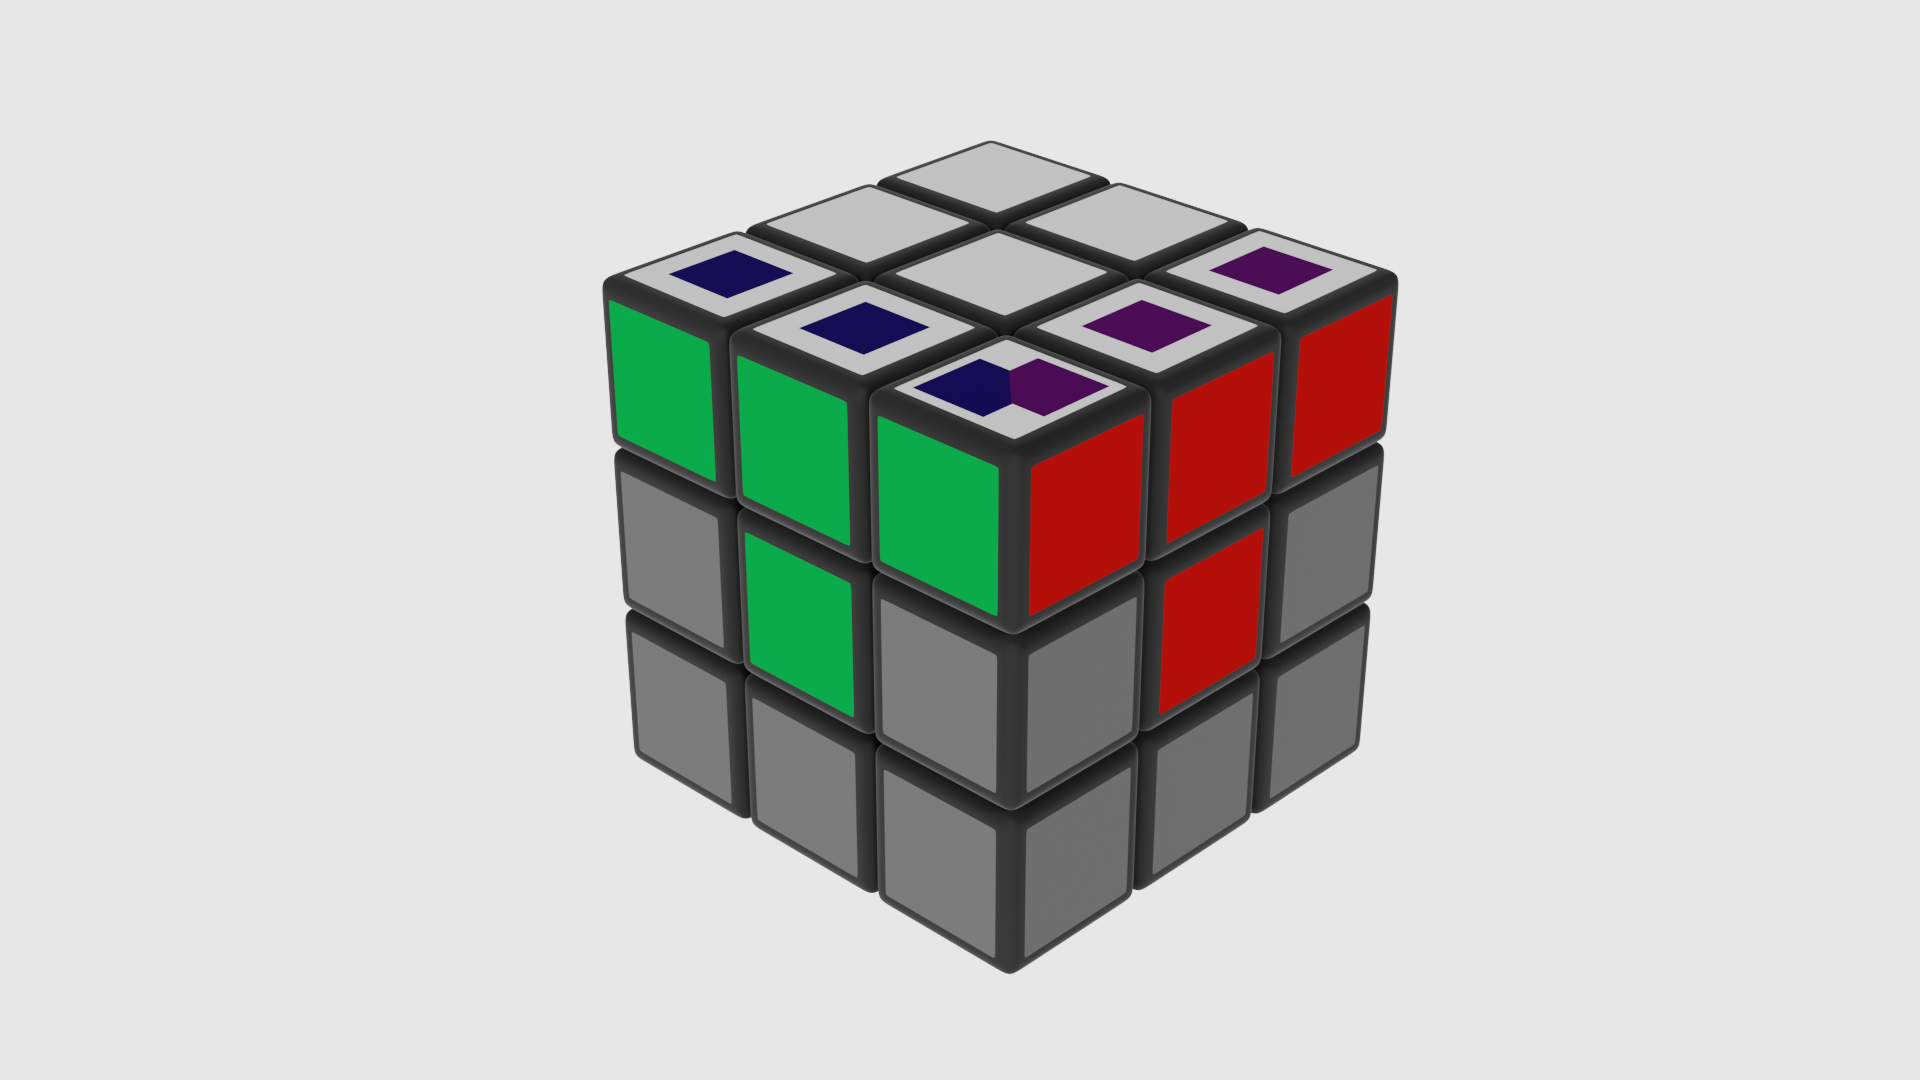
This red edge has a green on the bottom, which matches the green to the red's left.
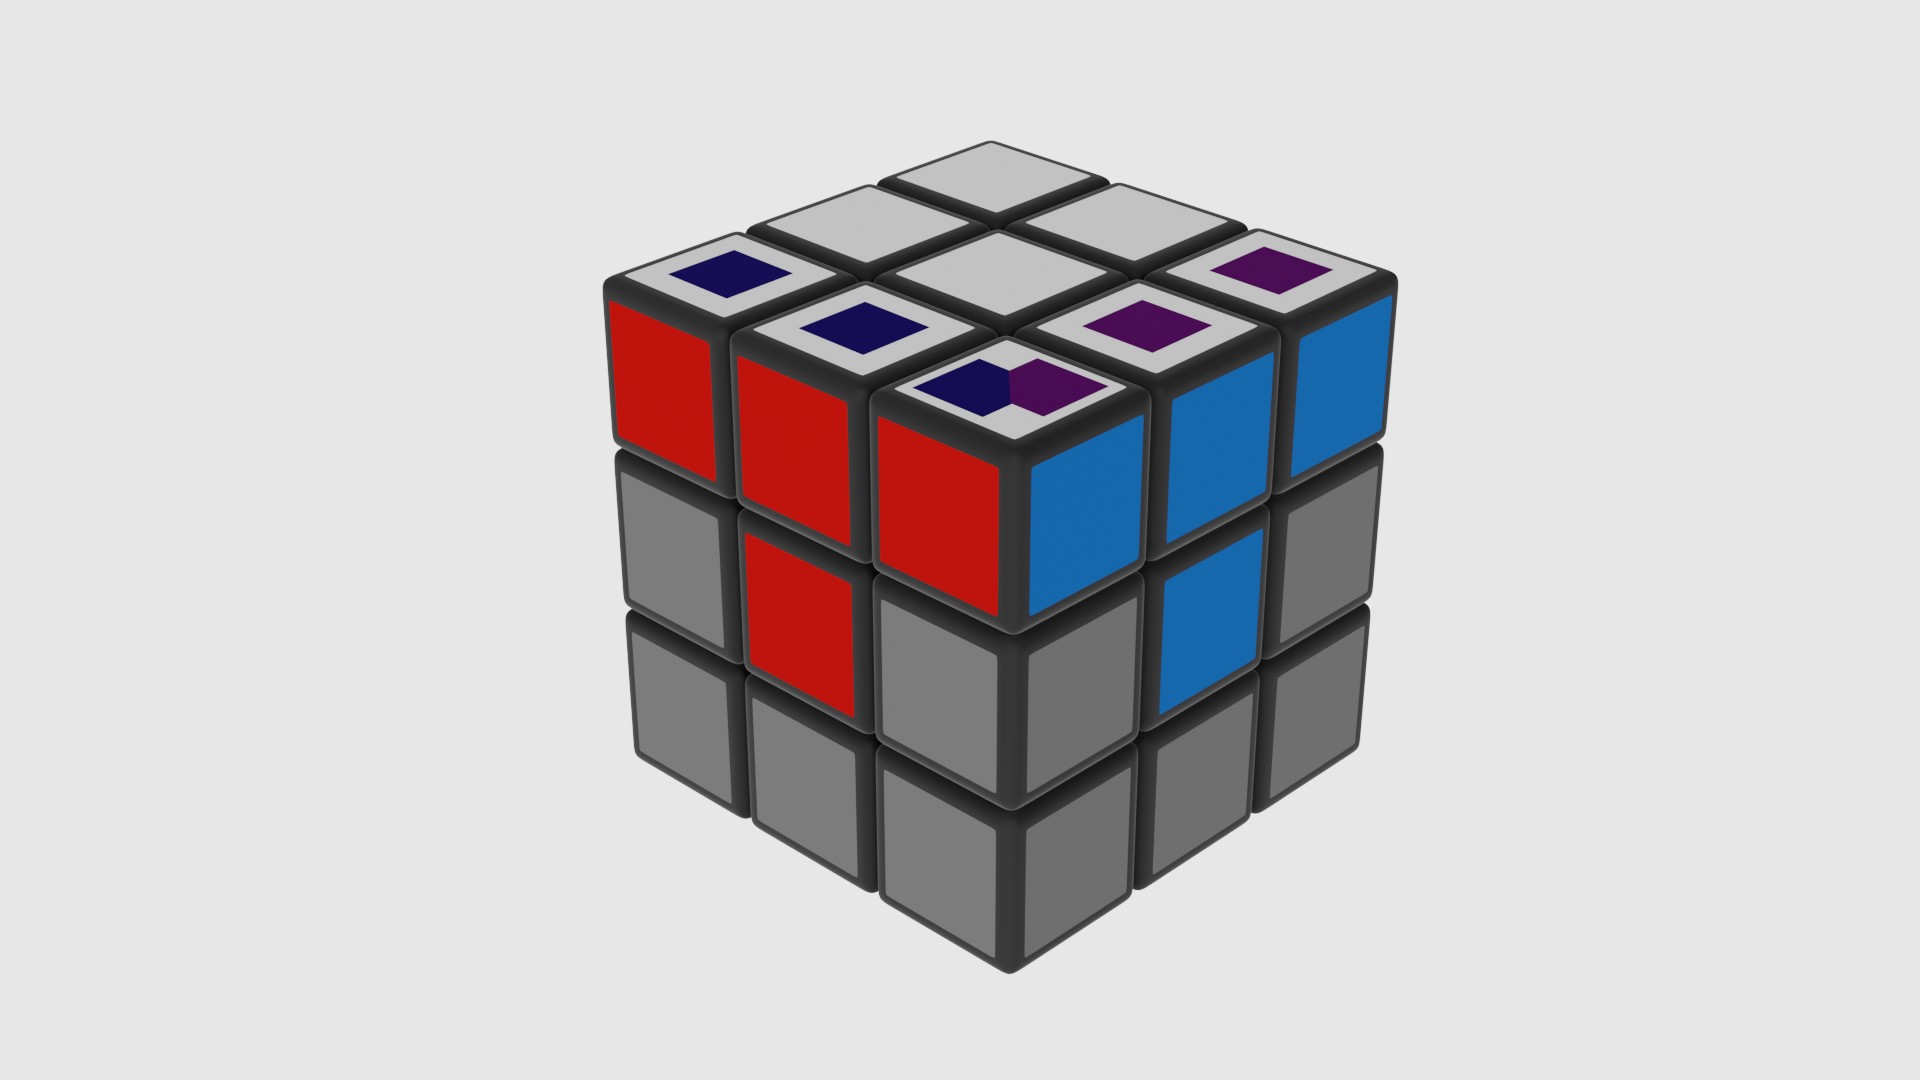
This red edge has a blue on the bottom, which matches the blue to the red's right.
Twist it away
Once you have found the one you want to place, you need to spin it AWAY from the colour that matches the one on the bottom. I like to think of it as 'opposite' the colour on the bottom.
So, if it matches left, spin the bottom layer right.
And if it matches right, spin the bottom layer left.
This red edge has a green on the bottom, which matches the blue to the red's left. So you have to spin the bottom layer right
This red edge has a blue on the bottom, which matches the blue to the red's right. So you have to spin the bottom layer left
Key Movers
In all the moves we do, there will be 2 "sections" we predominantly focus on.
The edge cube that you are about to place has two colours. These two colours are next to each other. Their respective faces are also 'neighbours'. So you will be working with the faces of the two colours you are trying to sort out. These faces are the key here.
Method
In order to really understand my pattern method, you need to focus more on the top layer, and how the key-movers move. Understanding just a few pieces is key to the solution
1 For solving the middle layer, you will need to start with the face that is opposite the middle cube that you just moved.
Spin the 3 top cubes of this side forward.
So if the bottom middle cube went right, you need to move the left face.
If the bottom middle cube went left, you need to move the right face.
You should now have 6 top-squares at the top and 3 of them facing you.
2 Now spin the lowest square towards the side you just moved.
So if you moved the left face, you need to spin the bottom cube left.
If you moved the right hand layer, you need to spin the bottom cube right.
3 You now want to spin the two remaining squares back up to the top, so that you now have 8 correct squares at the top.
4 Now look where the single white square has ended up. If you look stright up that same line, you will see that it can go back together with the key-movers that we haven't yet touched. So you first have to move it out the way, by spinning it away, in the same direction that you moved it in the first place.
5 Now bring these final 2 'key-movers' forward.
6 Bring the single square back around so you have a row of 3.
7 And pop that row of 3 back up to the top. If everything went according to plan, the top is now back in the correct positions and orientation, and you have placed one of the 2nd layer edge pieces.
Altogether
Putting that all together looks like this:
Placing the left middle edge:
Placing the right middle edge:
If it helps, here it is with the key movers:
And if you add the first move, which was to spin the bottom later away, you get this:
Placing the left middle edge:
Placing the right middle edge:
Now repeat all of the above, until you have solved for all 4 edges. If you get to a point where you can't find a bottom piece that matches up, then just do one of these moves for an unsolved edge and you should get a workable piece again.