Rubik's By Patterns - an easy, no algorithm method for solving the Rubik's Cube for beginners, using patterns and landmarks
Introduction
I aim to teach an easy method of solving the 3 x 3 Rubik's cube that does not involve memorising algorithms, but rather understanding how you manipulate the top layer in order to have an effect on the lower layers.
It is possible to manipulate the top layer in simple patterns that will then achieve the solving of the rest of the cube.
Remembering algorithms such as R' D L D' R D L' is difficult at the best of times. And doing this in the traditional way of holding the cube with the solved side downwards is even more tricky because there are no easy-to-follow landmarks if you get lost in the algorithm.
Simply turning the cube with the solved face up and watching how these squares are moved in some simple 6-9 step patterns gives the solver some easy-to-follow landmarks, as I will show you in the next few pages.
On this first page I will outline the anatomy of a cube as understanding how it works can sometimes be enough of a 'lightbulb' moment for you to work out how to solve the cube by yourself.
Anatomy of a cube
A cube is made of 6 sides. For a Rubik's Cube, we call each side a 'face'. Traditonally the faces are made of White, Yellow, Red, Orange, Blue and Green.
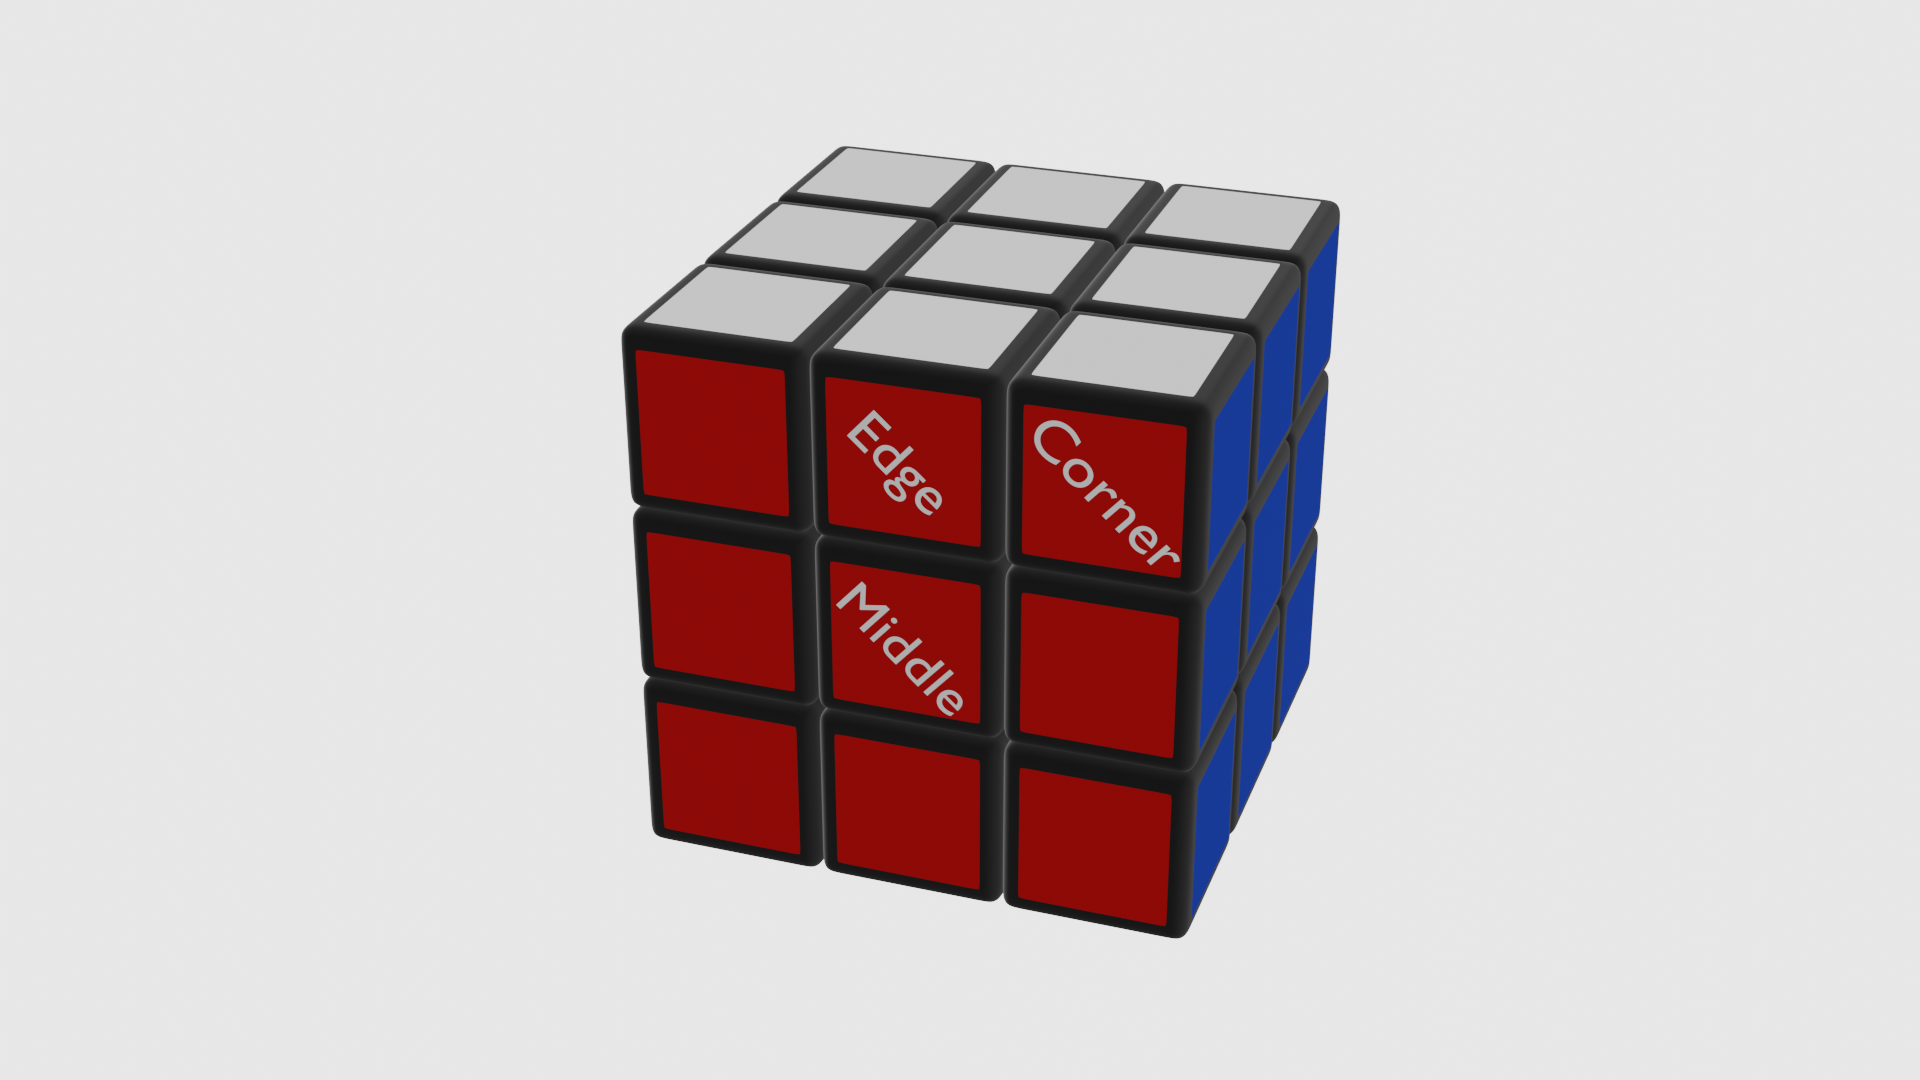
Each face of the cube is made of 9 seperate squares:
- One middle square
- Four edge squares
- Four corner squares
The traditional colours (white, yellow, red, orange, blue and green), are also traditionally paired:
- Red <-> Orange
- Blue <-> Green
- White <-> Yellow
You will find, on a completed cube, each pair end up opposite each other:
No matter how you make up the cube, they will always have the same colours opposite each other. Why? Well, the centre square will never move.
But why? Well, the centre piece is fixed to the inner workings of the cube, and each one only spins around its own axis.
The edge and corner pieces are made like a puzzle, with shaped bits behind each cube that link together.
Corner 3D
Edge 3D
Some joined up corner and edge pieces 3D
This clever design allowes each face of the cube to rotate, but is also what holds the cube together when combined with the middle skeleton. Amazing, huh?
Hints
Here are some tips to get you started:
- Given that the middle cubes never move, and remain opposite each other, you can 'know' where each edge and corner piece should end up.
- Solve the top layer first, making sure the edges are all the same colour as the middle cubes.
- If you mess up, reversing what you did will correct it.
- Aim to make the next layer. How can you get those middle layer edge cubes into their correct positions? You will need to break the top and fix it again. It only takes 7 moves.
- Try to see what simple moves that involve moving a top corner piece to the bottom layer, moving it around, then moving it back to its position can do to the bottom layer orientation.
- Good luck, and happy cubing!