Solving the bottom cross of the Rubik's cube: The L-back
Introduction
The next task is to make the bottom cross. They don't have to be in their correct positions just yet, we will sort that out in the next stage.

Starting Point
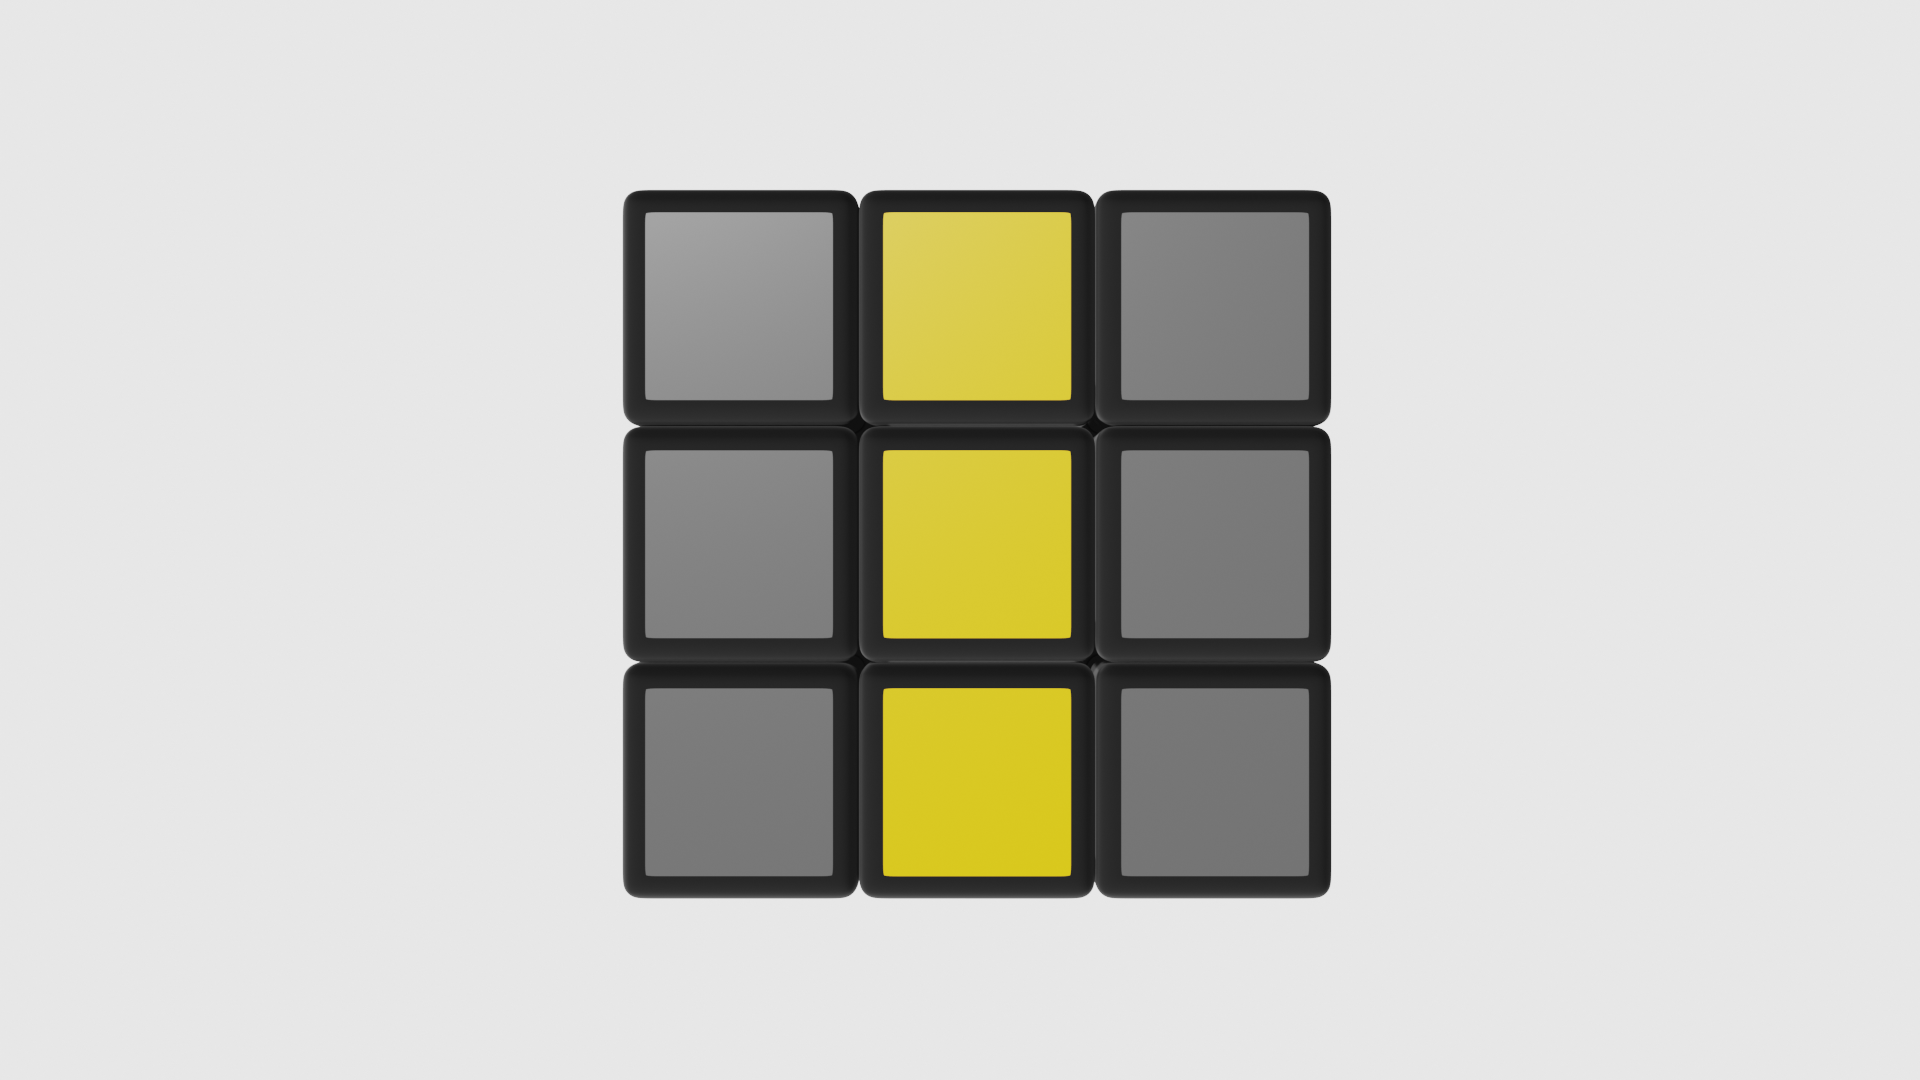
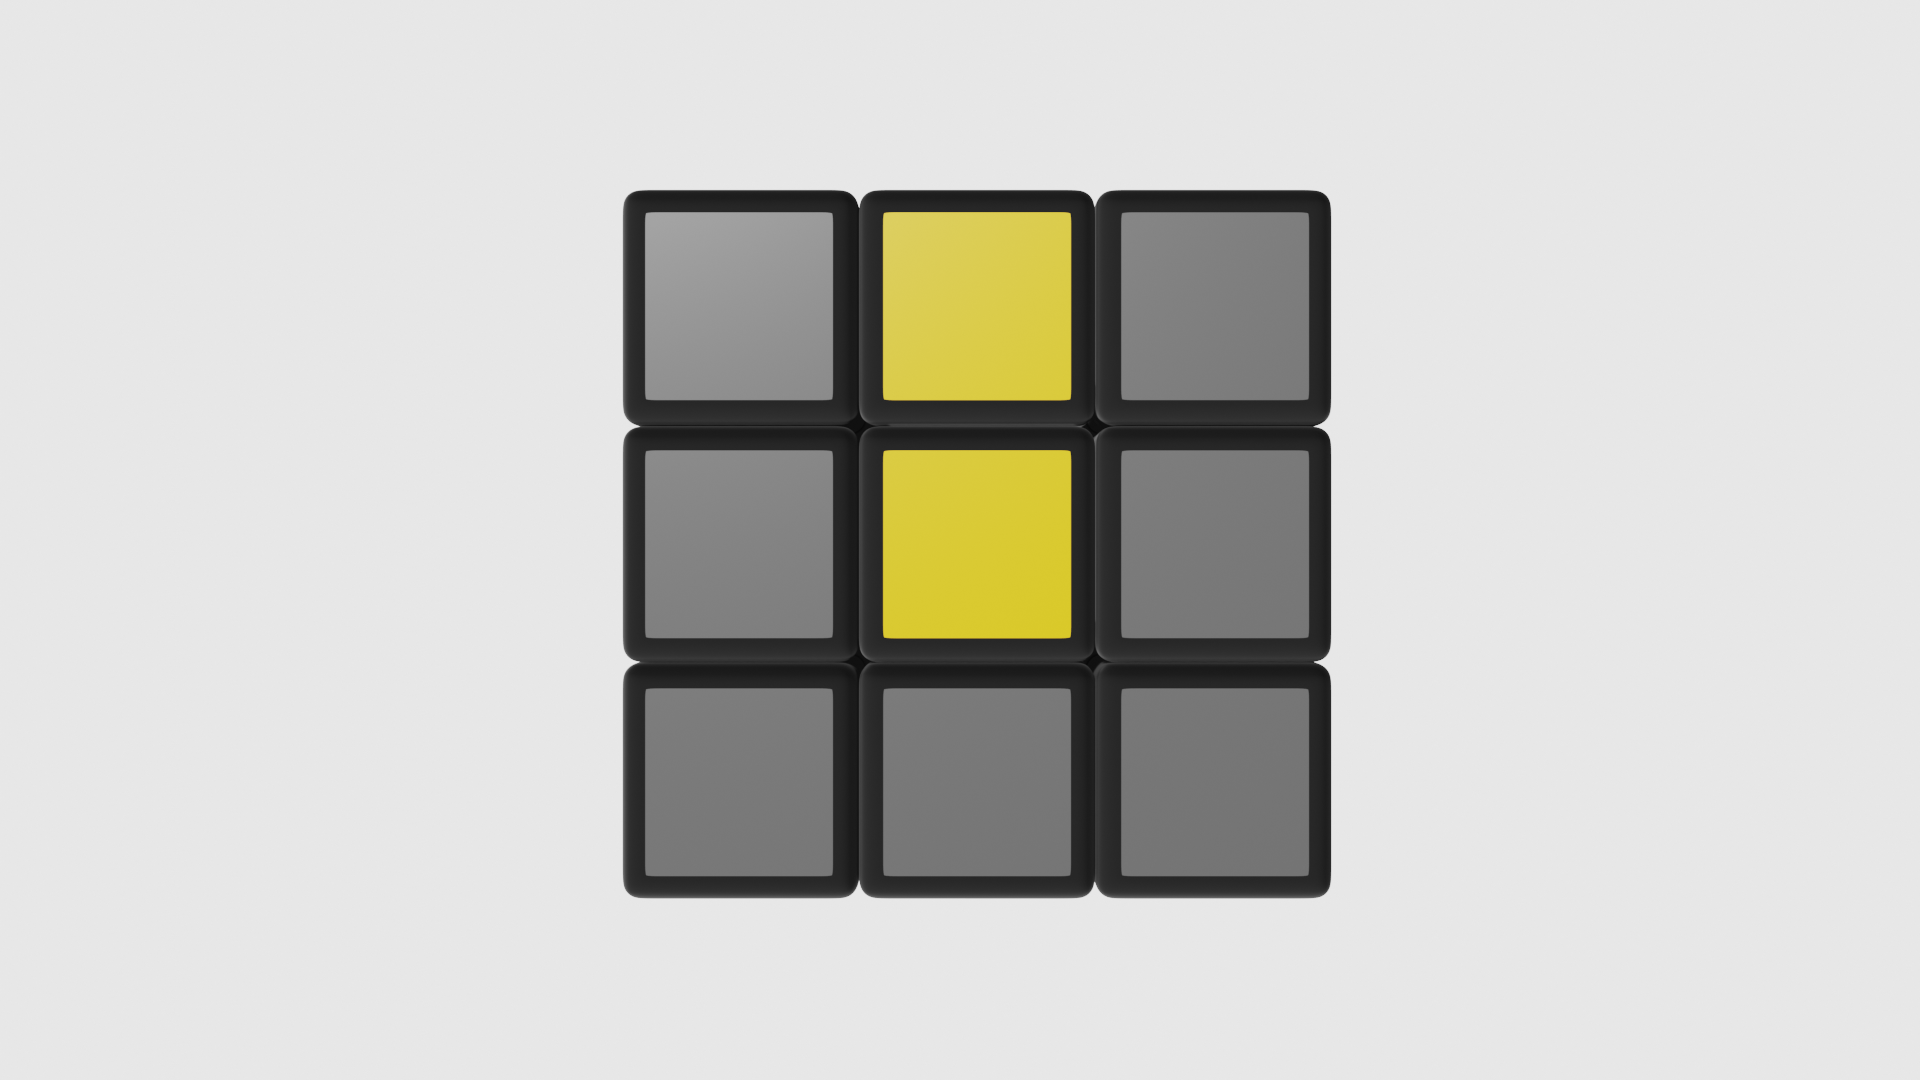
So, I call this one the 'L-back', as we start with an 'L' shape of correct-coloured squares at the bottom of your cube, and two of our key-movers will actually be at the back of the cube as you will see later.
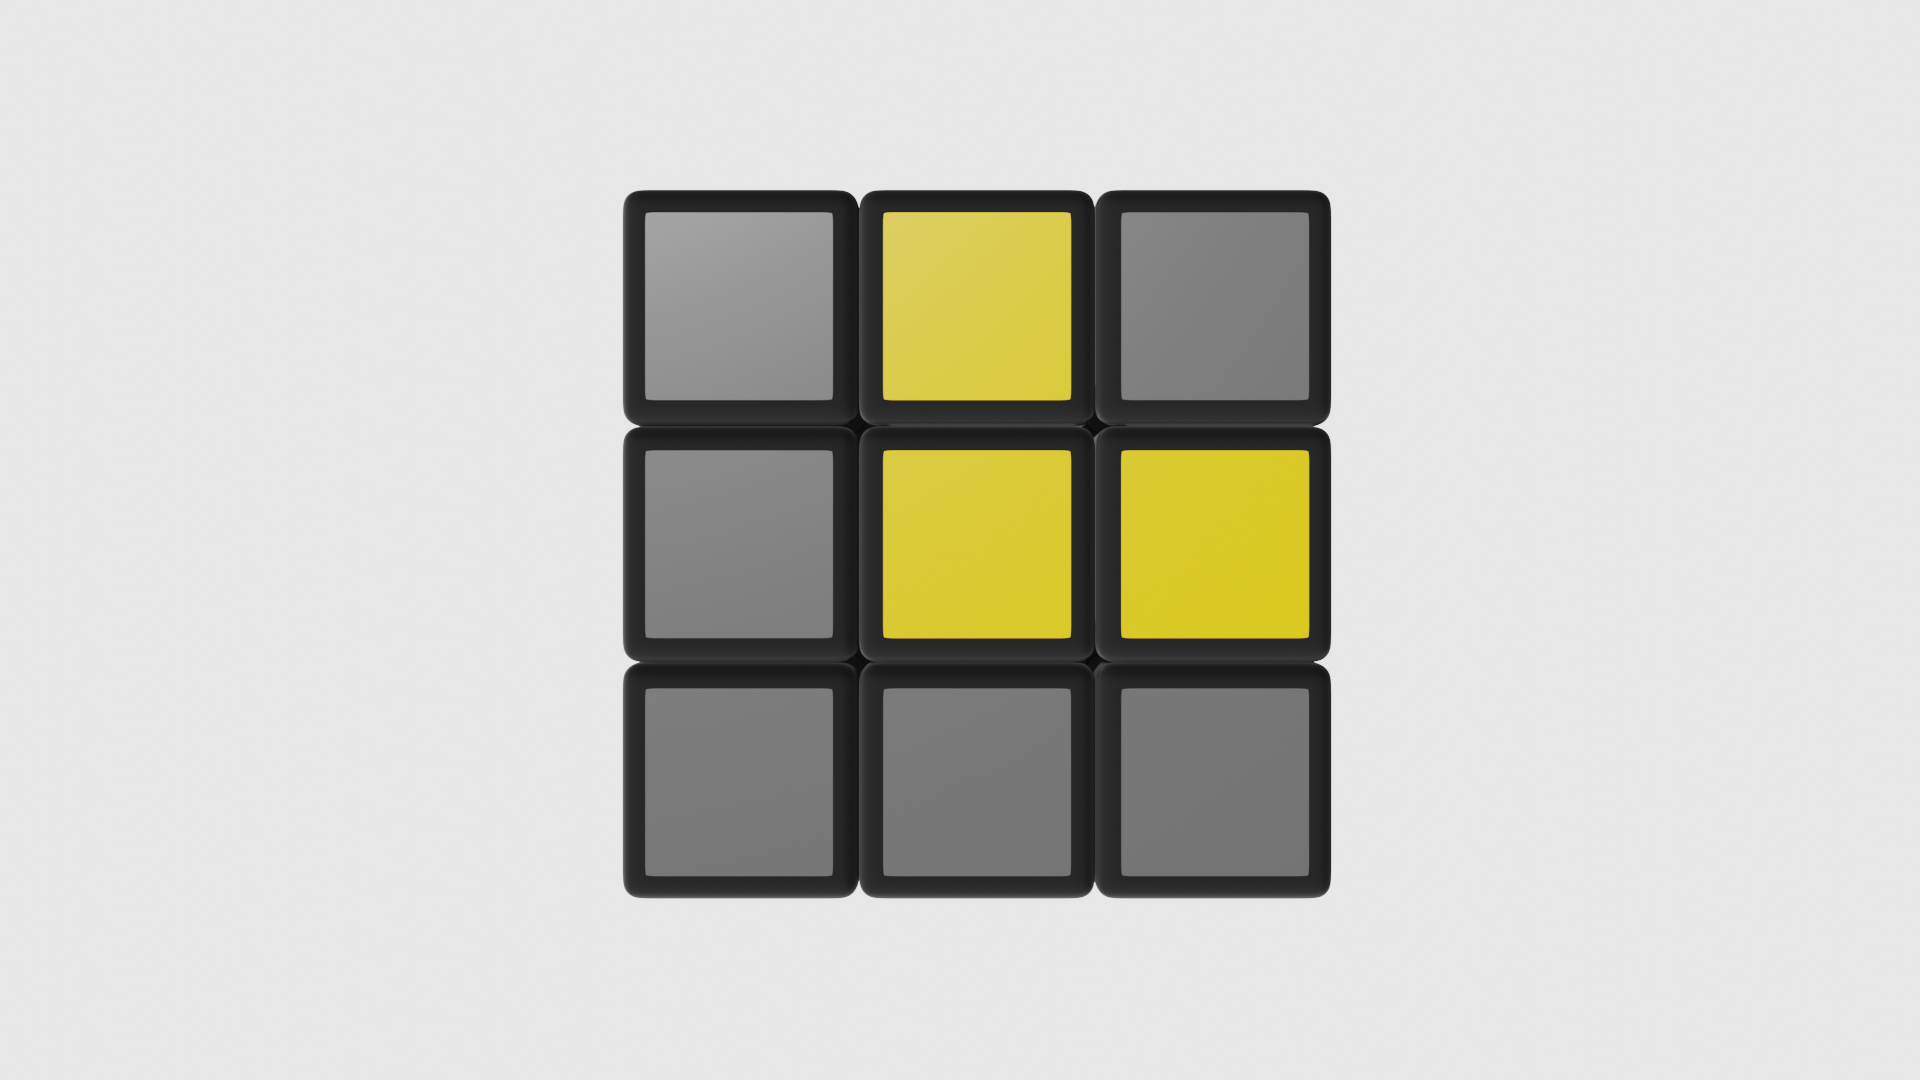
But it might take a couple of turns to get there as you might not have an 'L' immediately. Try keep at least one correct square at the top. Rarely you might have no correct one at all. Don't stress, just do this move below until you get one at the top.

Key Movers
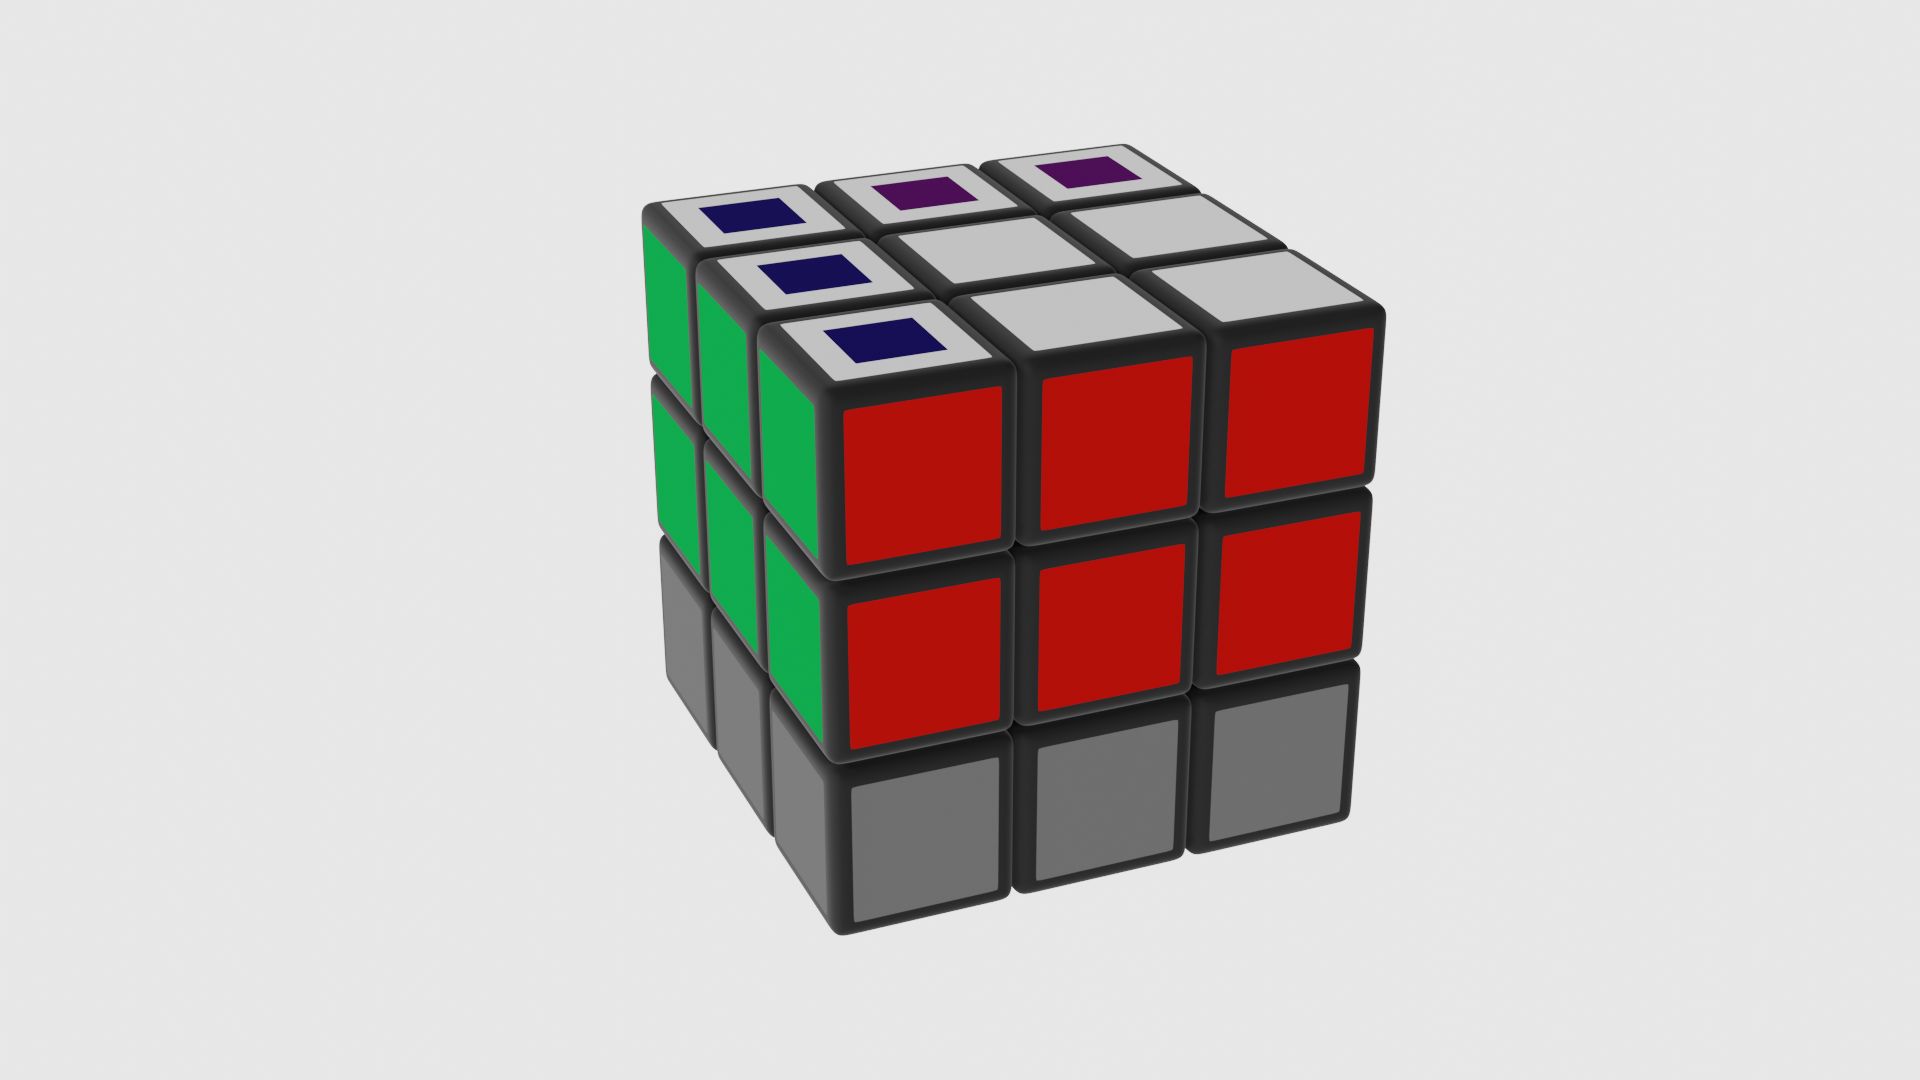
First we will flip the cube so the solved side is at the top again. Then we use the left hand squares and the back squares (in keeping with our 'L-back' theme for this part of the solve.)
Method
1 First, you need to turn the cube back over so that the solved layer is on the top. Once done, the top of the 'L' (or the cube chosen to be the top), should be pointing towards you.
2 Then twist the left face forward.
3 Twist the bottom square right.
4 Now turn the back face to the left.
5 Bring the single back to make a row of three.
6 Replace the two back ones.
7 Replace the other three squares.
8 Turn your cube over and you should see a cross at the bottom.
Altogether
Here it is all in one:
Here it is with the key-movers marked: